By Sean Fagan
About to cut a willow branch to the correct length for a walking staff (Photo: Sean Fagan).
.
Why a sturdy staff is your outdoor friend
Easy and quick to make – a good walking staff can be made from start to finish in as little as 5-10 minutes.
I’m a big fan of walking staffs, and for good reason - the benefits are many.
Here are a few…
- Improve balance & posture when walking which can prevent injuries when walking across uneven, challenging terrain.
- Assist with the ability to walk with a leg injury.
- Clearing away vegetation (especially vegetation that hurts – such as thorny plants).
- Assist in ascending or descending steep land - when ascending steep land a sturdy staff assists the legs muscles by engaging the upper body muscles – a staff also greatly assists in maintaining balance & posture when descending steep land (which prevents slipping and falling).
More obscure uses include knocking off tree fruit to dislodging limpets off rock to digging up edible roots.
A walking staff is also a good investigative tool – whether that’s examining fox poo while tracking or testing for marshy ground underfoot while hiking - a walking staff is a good way of investigating stuff we would rather not touch or step into.
.
How to Make a Walking Staff in 3 Easy Steps
Step 1: Wood Selection
The first step is to look for a branch that is straight-as-possible, sturdy and relatively light.
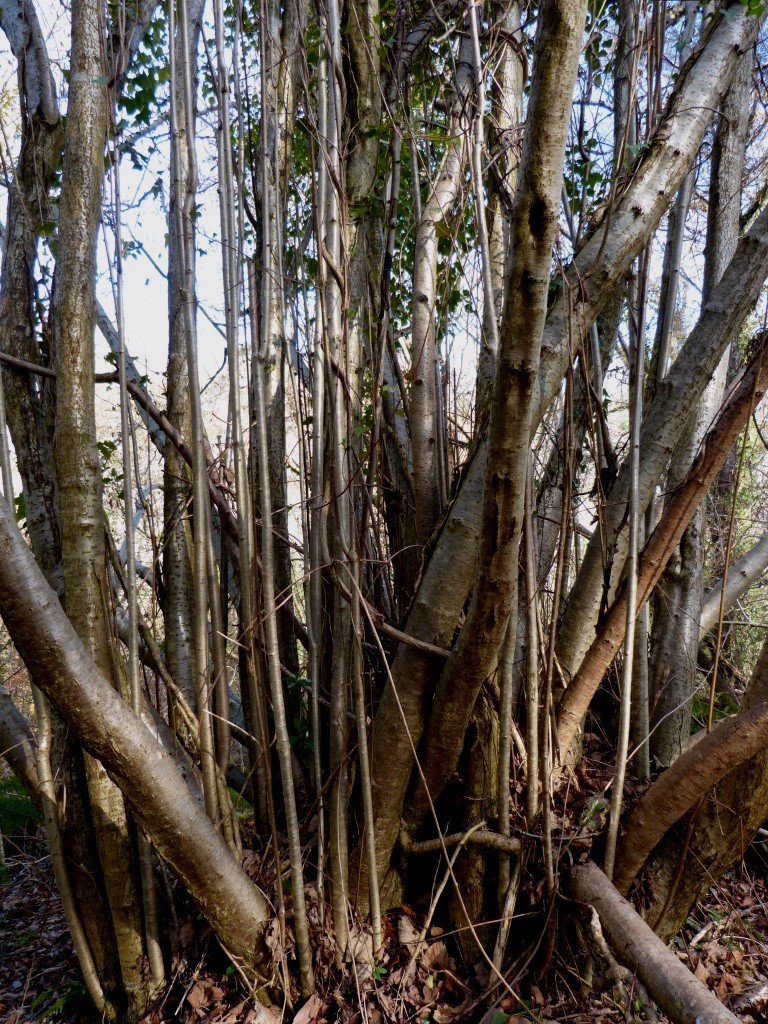
In Ireland & Britain and throughout large tracts of Europe the two following, relatively common & widespread tree species are particularly good for producing straight, sturdy branches.
- Willow, salix spp.
- Hazel, corylus spp.
These tree species were often traditionally coppiced to produce straight branches for various uses. Often the branches of these trees are straight grained with few, mostly small knots - making them very strong.
.
Common Hazel (Corylus avellena) can produce many straight, strong & light branches which are ideal for walking staffs (Photo: Sean Fagan).
.
Although hazel and willow trees are two of the most ideal trees for making staffs, do not become unnecessarily focused on these two tree species for optimal wood selection – any suitably long, strong, straight(ish) and wieldy branch will do.
An absence of knots is an advantage as they are a source of structural weakness in wood. However, its not that necessary to have a knot-free branch as long as the knots are small (1 cm or less in diameter).
Once you have spotted a suitable branch I recommend that you cut the branch with a saw as close as possible to the trunk of the tree.
Try to cut a branch that is at least thumb thick at its widest point (where the branch meets the trunk) and at least a foot taller than yourself.
I prefer to cut down branches with a saw, as a saw will leave a very flat cut (which facilitates the healing process of the severed branch stump).
.
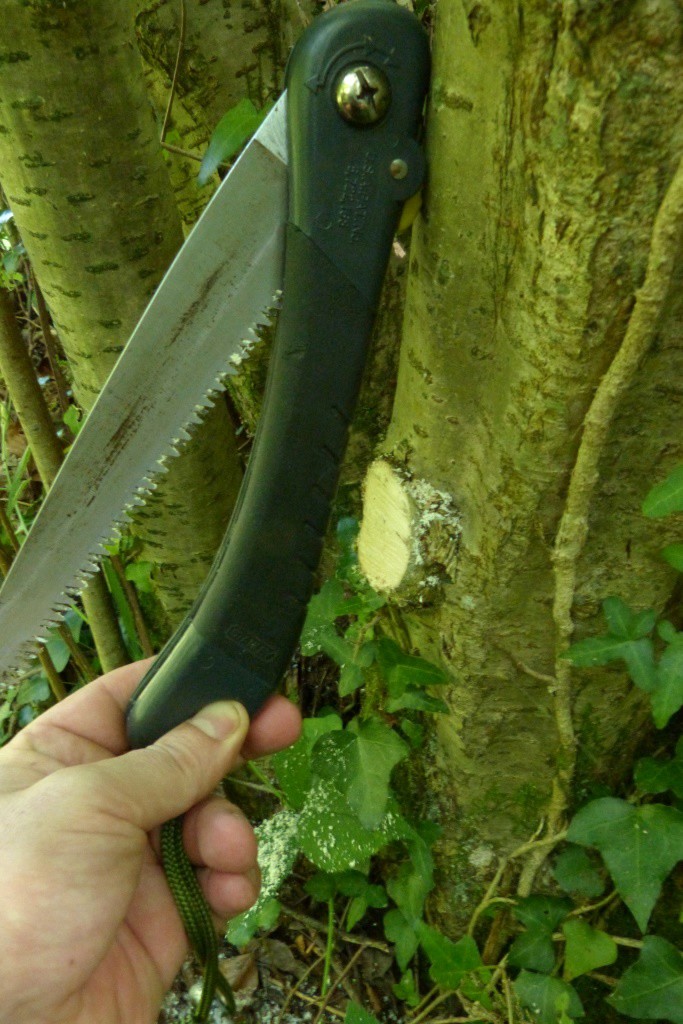
Cutting a branch close to the trunk of the tree with a saw makes for a cleaner cut which is healthy for the tree (Photo: Sean Fagan).
.
Before cutting down the branch give it a long, lingering look - and ask the following questions...
- Does it look healthy and strong enough to support my weight? (look for any infected wood that is discoloured and soft (punky)). There is no harm at this point in giving the branch a good pull to test its strength.
- Is it straight enough?
- Does it look light enough to be used for long periods of time?
By asking these questions before cutting down a branch you potentially save yourself time and wasting valuable natural resources.
You will also develop and hone your eye for the potential of branches/wood in general (always a good skill to develop).
If you do cut down a branch which proves to be unworthy – save that branch for other projects – such as tent stakes or the legs of a cooking tripod.
.
Step 2: Selecting the correct length of branch & measuring up
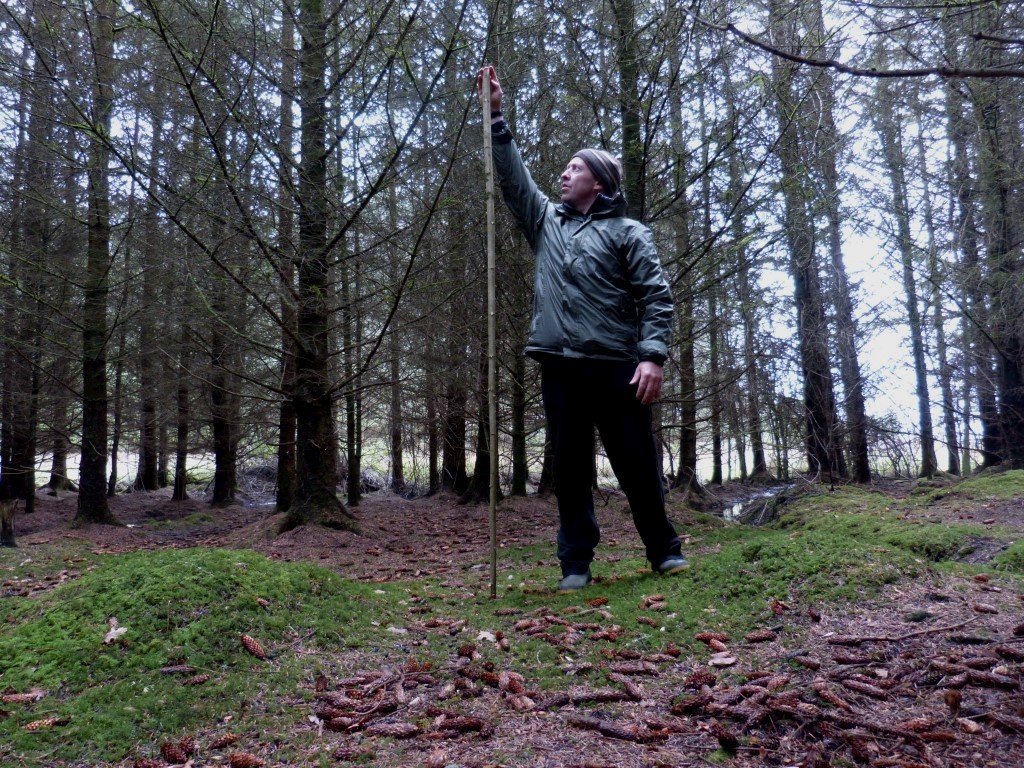
One of the most essential features of a walking staff is that it can be held short or long and still be effective when walking on steep land.
When descending steep land it's often necessary to hold the staff long in order for the staff to reach the sloping land in front of the walker.
Conversely, when ascending steep land it’s often necessary to hold the stick short – to enable the stick to be used effectively as a walking support.
.
In terms of width – the top end of the staff should be about thumb-thick - about 1- 1 ½ inches (2.54 cm - 3.81 cm)..
The top of the stick should be at least thumb thick (Photo: Sean Fagan).
.
However, a staff that is thumb-thick at the top is a generic measurement guide.
Some woods are dense and heavy and making a staff about 1 ½ inch wide at the top might be a little too heavy and cumbersome to use for long periods of time.
Conversely, some woods are light and not that strong - and may need to be wider than thumb-thick at the top of the staff to ensure it has sufficient strength.
Don’t be shy about experimenting with this aspect of the project.
In time, and with enough practice, you will be able to quickly assess the potential of any branch by acquiring a general familiarity with the unique timber properties of different tree species.
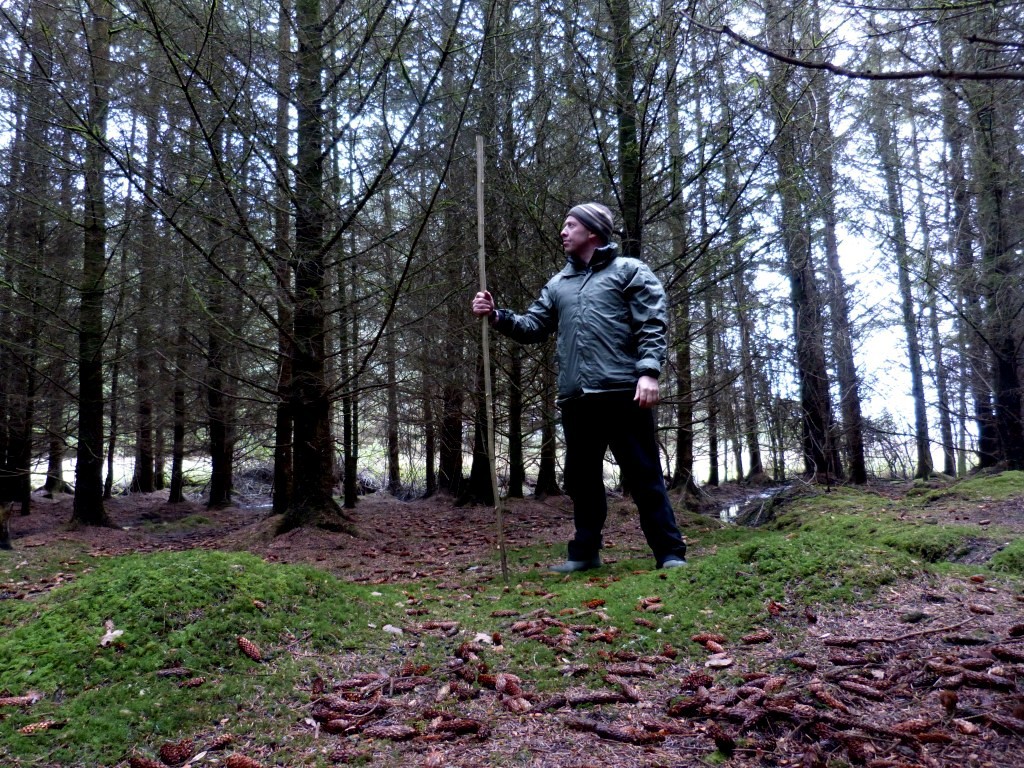
In terms of length - select a branch that about 1 foot higher (30.5cm) than yourself. This will ensure that the selected branch is strong throughout its length and prevent the possibility of prematurely making a walking staff that is too short.
.
Select a branch about a foot higher (12 inches) than your height - this will ensure that the branch is sufficiently thick and strong throughout its length (Photo: Sean Fagan).
.
Measuring up...
You now have a branch that is about thumb-thick at its widest point and about 1 foot longer than your body height.
Now its time to cut the branch to a length that suits you.
- Stand with the thick end of the branch on the ground (not the thin end of the branch!)
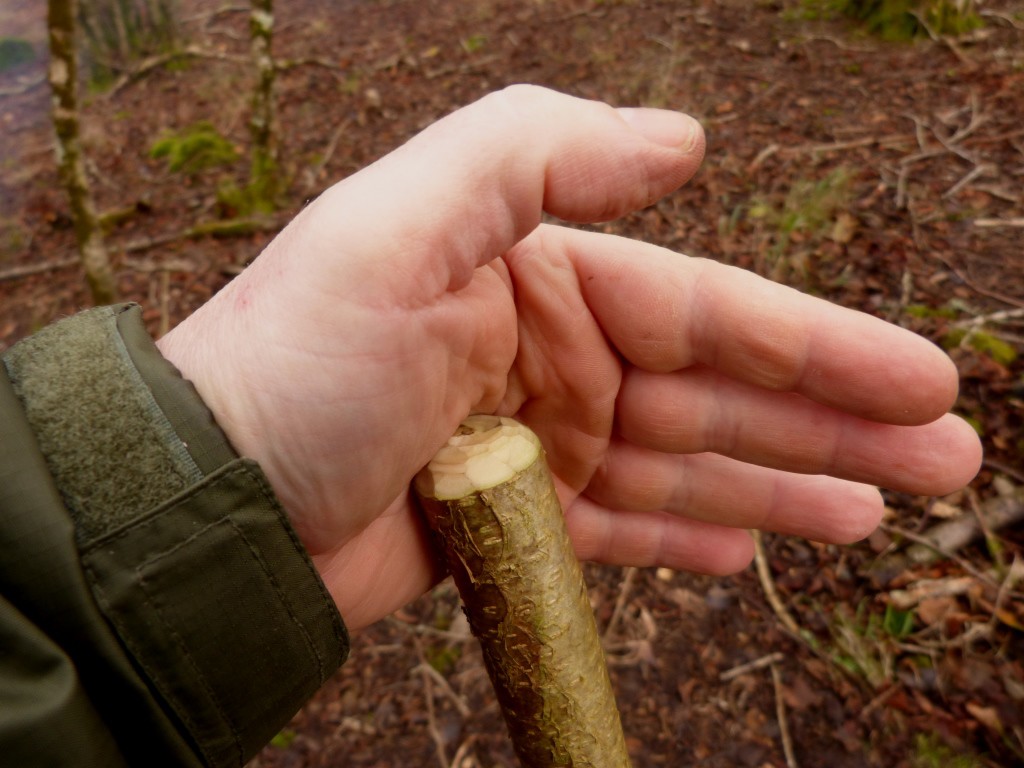
- Hold the branch in such a way that your elbow is to your side and your forearm is parallel to the ground (see photo below).
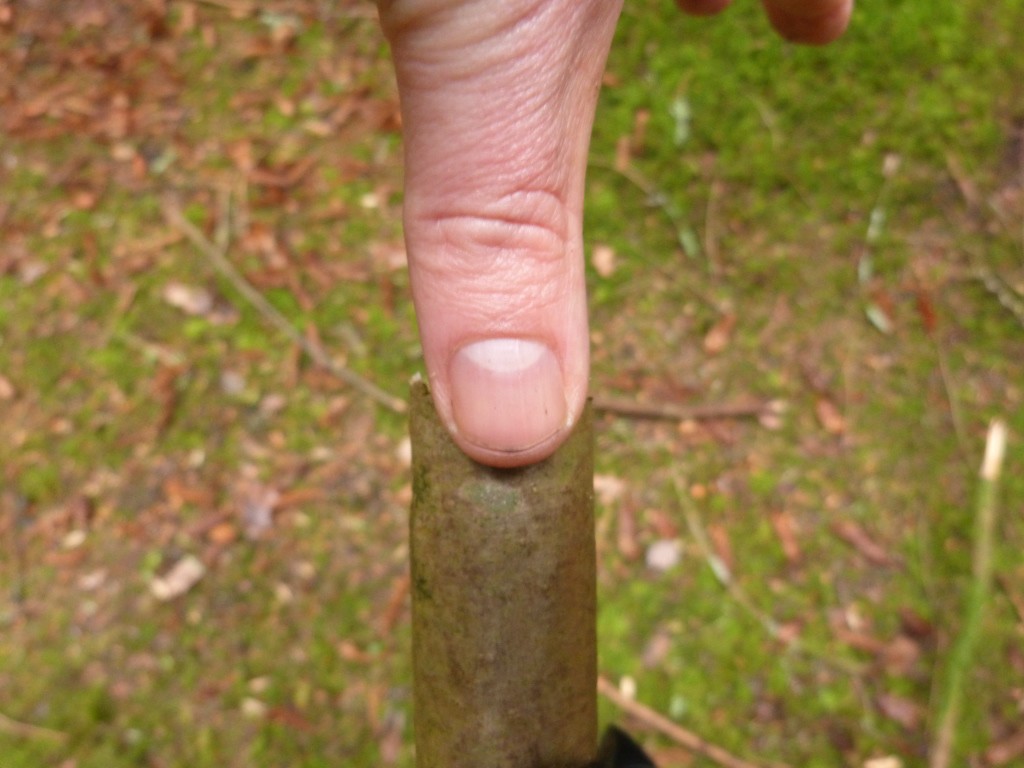
- With your knife or even your thumbnail, make a small nick in the bark about 2-3 inches above your hand (in photo below, note where my finger is pointing on the branch).
- Cut off the branch at this point.
- If using a knife to make this cut I recommend using either the forehand grip or scissor grip to cut the branch to length. Alternatively, use a saw or axe.
- The length of the staff should now be about ground level to bottom-of-sternum height.
.
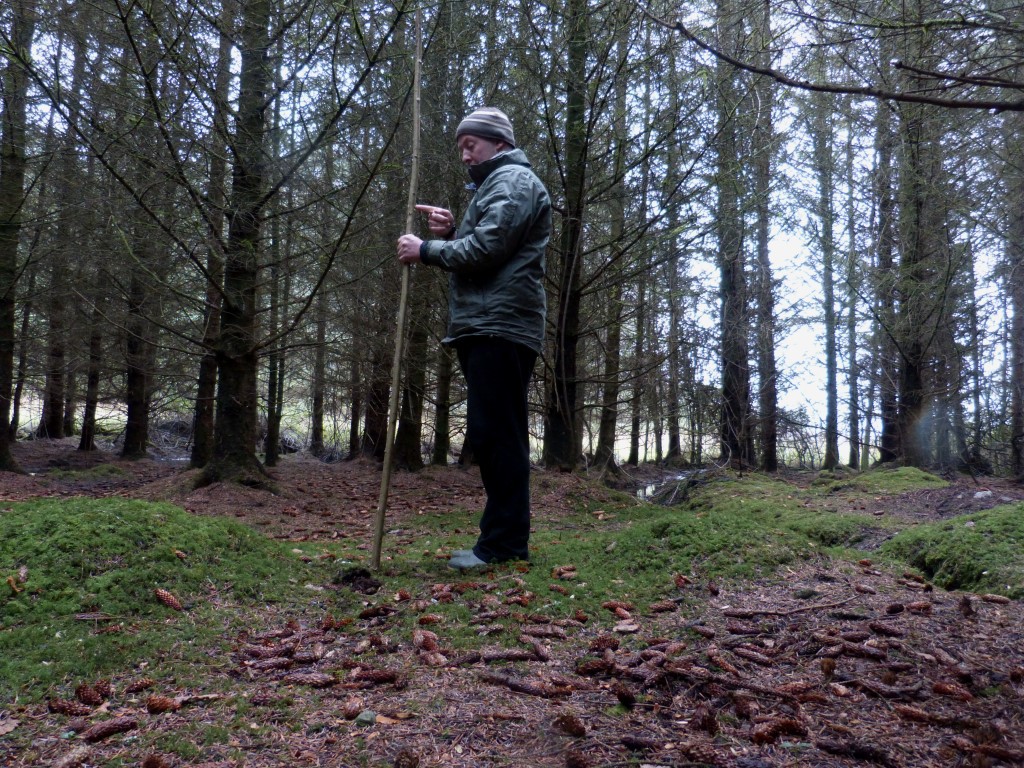
When measuring up the correct length of the branch - hold the branch held upside down, with the elbow to side of body and forearm parallel to the ground - mark the branch about 2-3 inches above your hand (Photo: Sean Fagan).
.
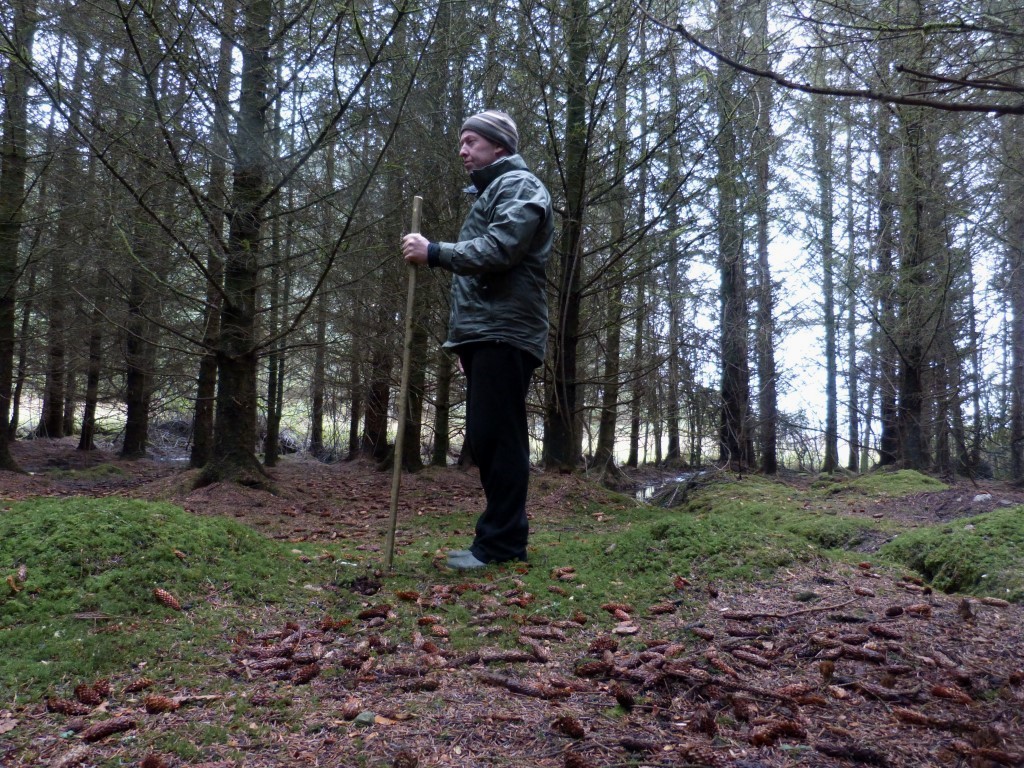
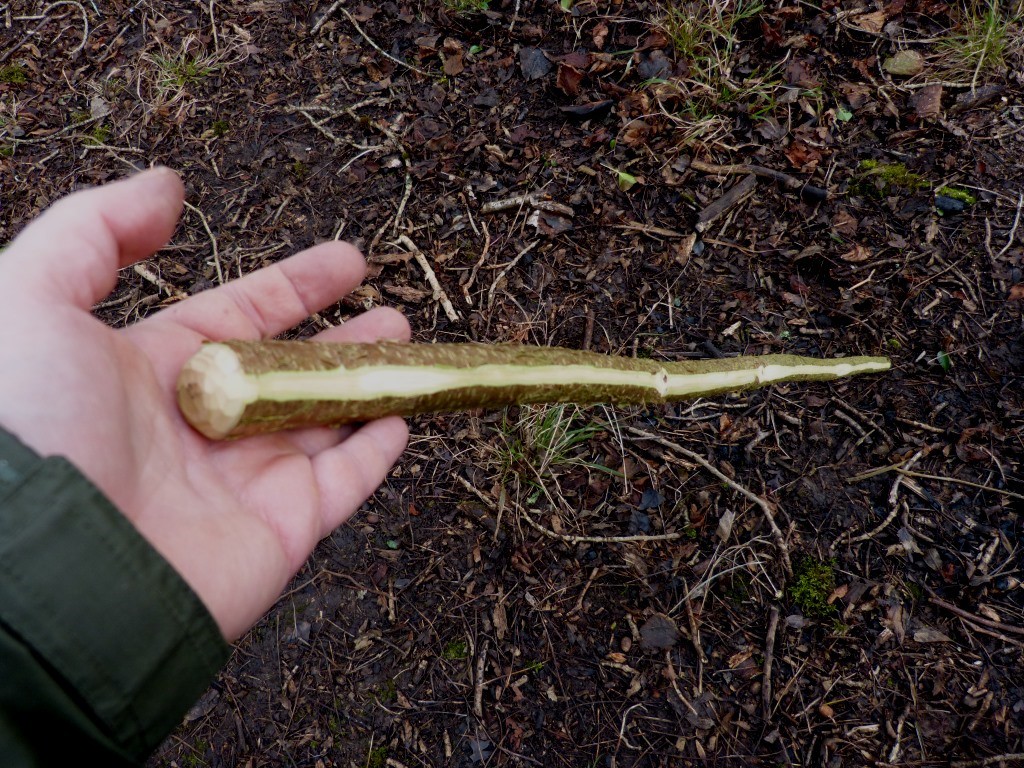
The finished staff should be about ground to lower-sternum level long - this length, I've found, is a good compromise between a staff than can be used long but is not too unwieldy or heavy (Photo: Sean Fagan).
..
Step 3: Rounding off the ends
Rounding both ends of the staff will make the wood more resistant to splitting.
The best knife grip for creating a rounded effect is the scissor or chest-lever grip (see 3mins 28secs of video link: Chest lever grip).
Rounding off the top end of the staff provides a comfortable surface for the palm of the hand to rest upon when using the staff as long as possible – such as descending steep land when you may need to hold the staff in the palm of your hand so the staff maximise your reach.
Repeat the rounding off process on the bottom end of the staff - this will make the thin end of the staff more resistant to splitting.
.
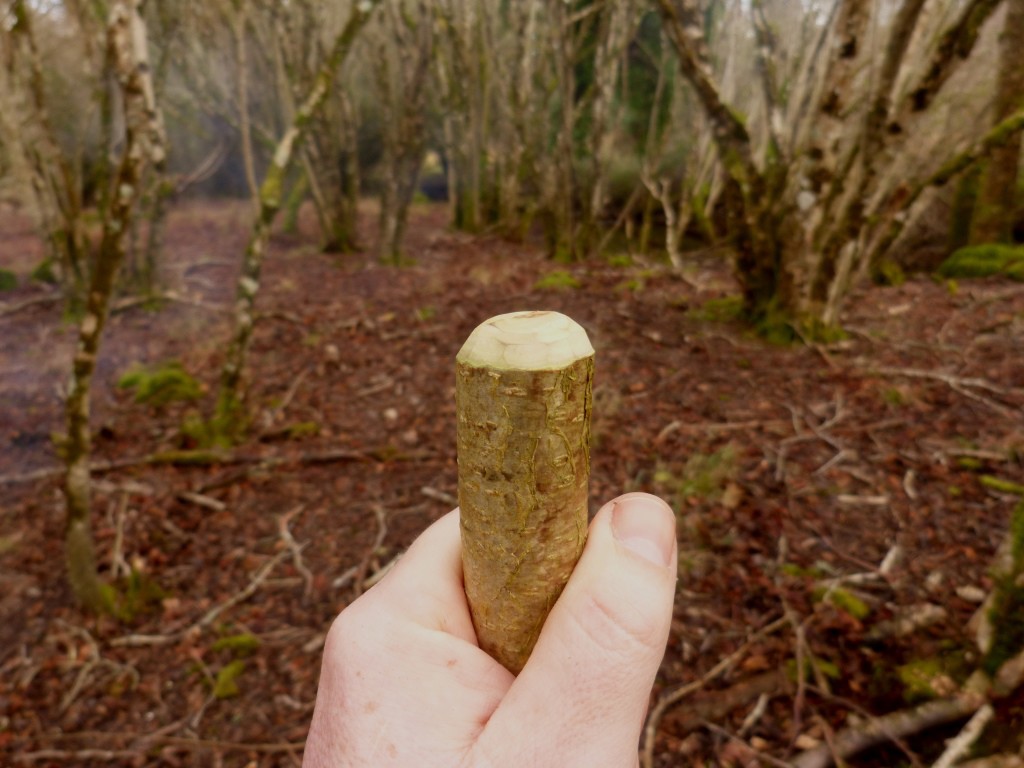
Rounding off the top end of staff makes for a more comfortable grip when placing the staff in the palm of the hand (Photo: Sean Fagan).
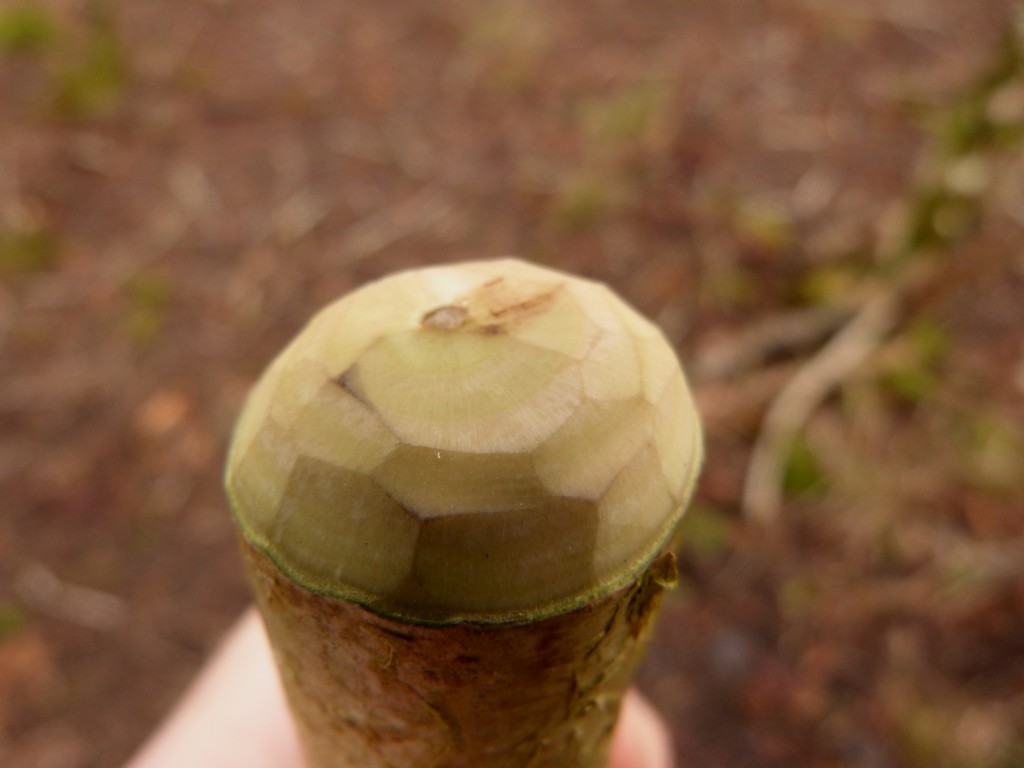
Close-up detail of rounded end of staff (Photo: Sean Fagan).
The point of rounding the end of the staff is to provide a comfortable place for the palm of the hand when using the staff long (such as descending steep land), (Photo: Sean Fagan).
.
Making the Staff Lighter but still Retaining Strength..
To debark or not to debark
.
Some people like to debark the staff to expose the pale prettiness of the wood.
Personally, I like to blend in with nature as much as possible and prefer the staff to retain its bark.
However, I often take off a thin strip of the wood from top to bottom to hasten the drying of the wood - the trapped water within the wood of the branch can now easily evaporate through the thin strip of debarked wood.
You can rub some dark soil or mud onto the thin, pale strip of debarked wood if you want your staff to retain its natural, dull-coloured camouflage.
.
Removing a thin strip of bark throughout the length of a walking staff will greatly hasten the drying out process while still retaining most of the bark (Photo: Sean Fagan).
.
Seasoned wood is lighter. In time, as the staff seasons it will become significantly lighter while still retaining its strength.
When freshly cut, green living wood can be surprisingly heavier than seasoned wood (with many tree species having a moisture content of up to 45%-50% of the weight in water).
.
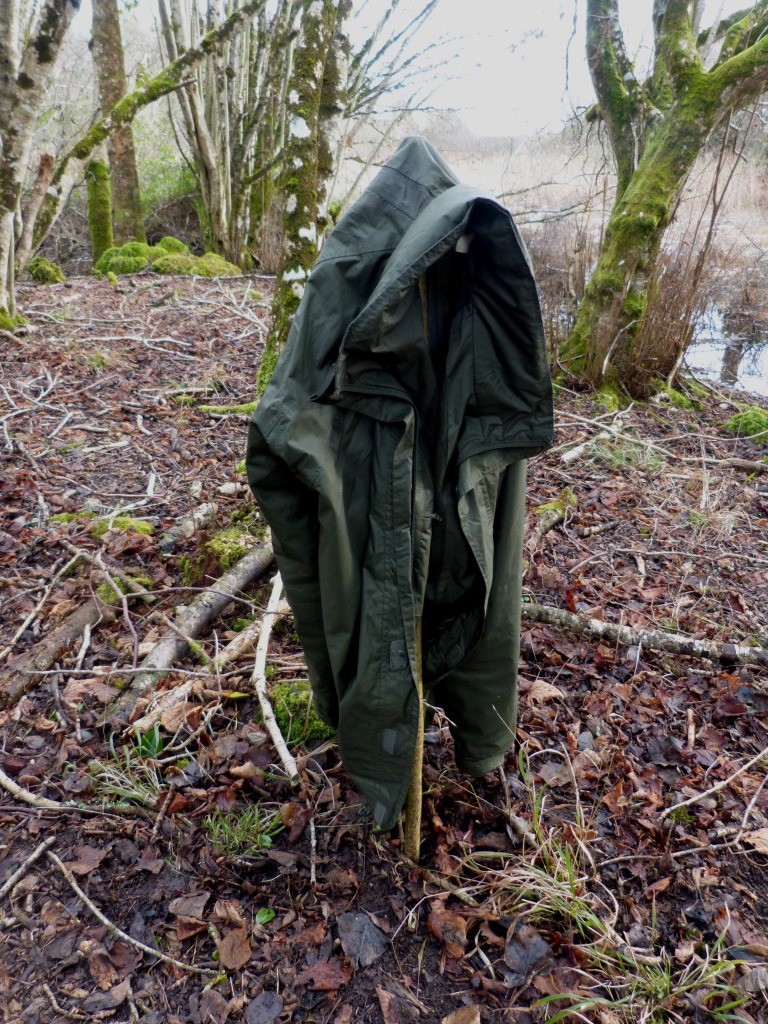
A walking staff makes for a handy coat/clothing hanger. This is a great way of drying damp clothing before a campfire (Photo: Sean Fagan).
.
A good walking staff is a joy to use.
Like a good friend – it’s always ready to help out and come to your aid.
I like the fact I can easily fashion one from a suitable tree whenever I need one.
That's always a good feeling.
.
.
.
Related articles on this website:
.
.
Important:
Often, survival/bushcraft books will highlight a method of crossing shallow, fast-running rivers & streams with a long, wooden staff. This triangulation method of shallow river crossing is dependent on a long staff – longer than the walking staff described in this article (* Do not attempt to cross a shallow, fast running river with a short staff – it's inefficient and risky).

Recent Comments